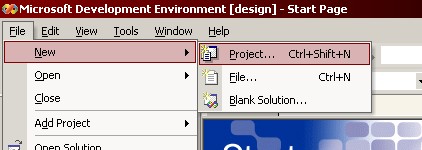
1. Create a Visual Studio Project
After starting Visual Studio, select
New/Project... under the File menu.
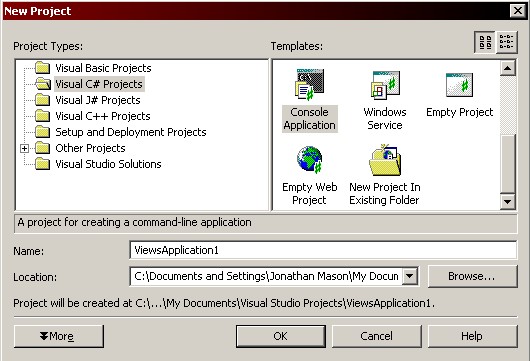
2. Create a New Console Application
Using the New Project menu, select Console Application
from the choices for project templates.
(This seems contradictory but if you select 'windowed application',
Visual Studio will reference the Windows.Forms
namespace and give you the Drag & Drop form creator,
which we don't want for Views programming.)
3. Add a Reference to the Views DLL
After Visual Studio has brought up your project,
you must add a reference to the Views DLL.
Under the Project menu there is an Add Reference... option:
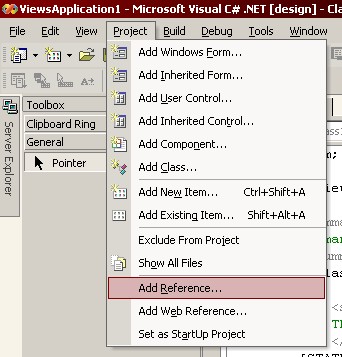
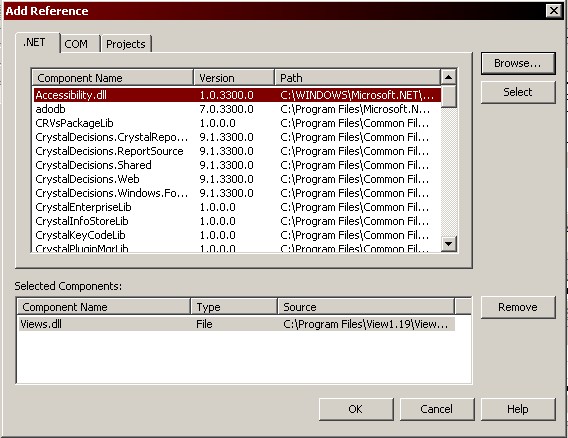
After selecting this option you will be presented with a screen that looks like this:
4. Proceed to use the Views.Form Class
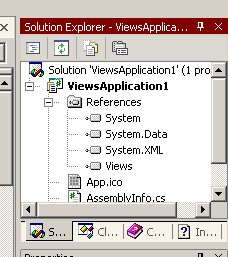
After pressing OK on the "Add Reference" dialog box,
the Solution Explorer window should show the reference to Views.
You can now proceed to write code which instantiates the Views.Form
class and invoke its methods.